EN
EN
 AR
AR
 FR
FR
 DE
DE
 IT
IT
 JA
JA
 KO
KO
 PT
PT
 RU
RU
 ES
ES
 LV
LV
 LT
LT
 VI
VI
 TH
TH
 MS
MS


Modern home decoration has embraced innovative alternatives to traditional wax candles, with plastic candles emerging as a popular choice for safety-conscious homeowners and commercial establishments. These versatile lighting solutions offer the ambiance of real candles without the fire hazards, smoke, or wax mess that comes with conventional candles. Understanding proper cleaning and maintenance techniques ensures your plastic candles continue to provide beautiful illumination while maintaining their aesthetic appeal and functionality for years to come.
Understanding Different Types of Plastic Candles
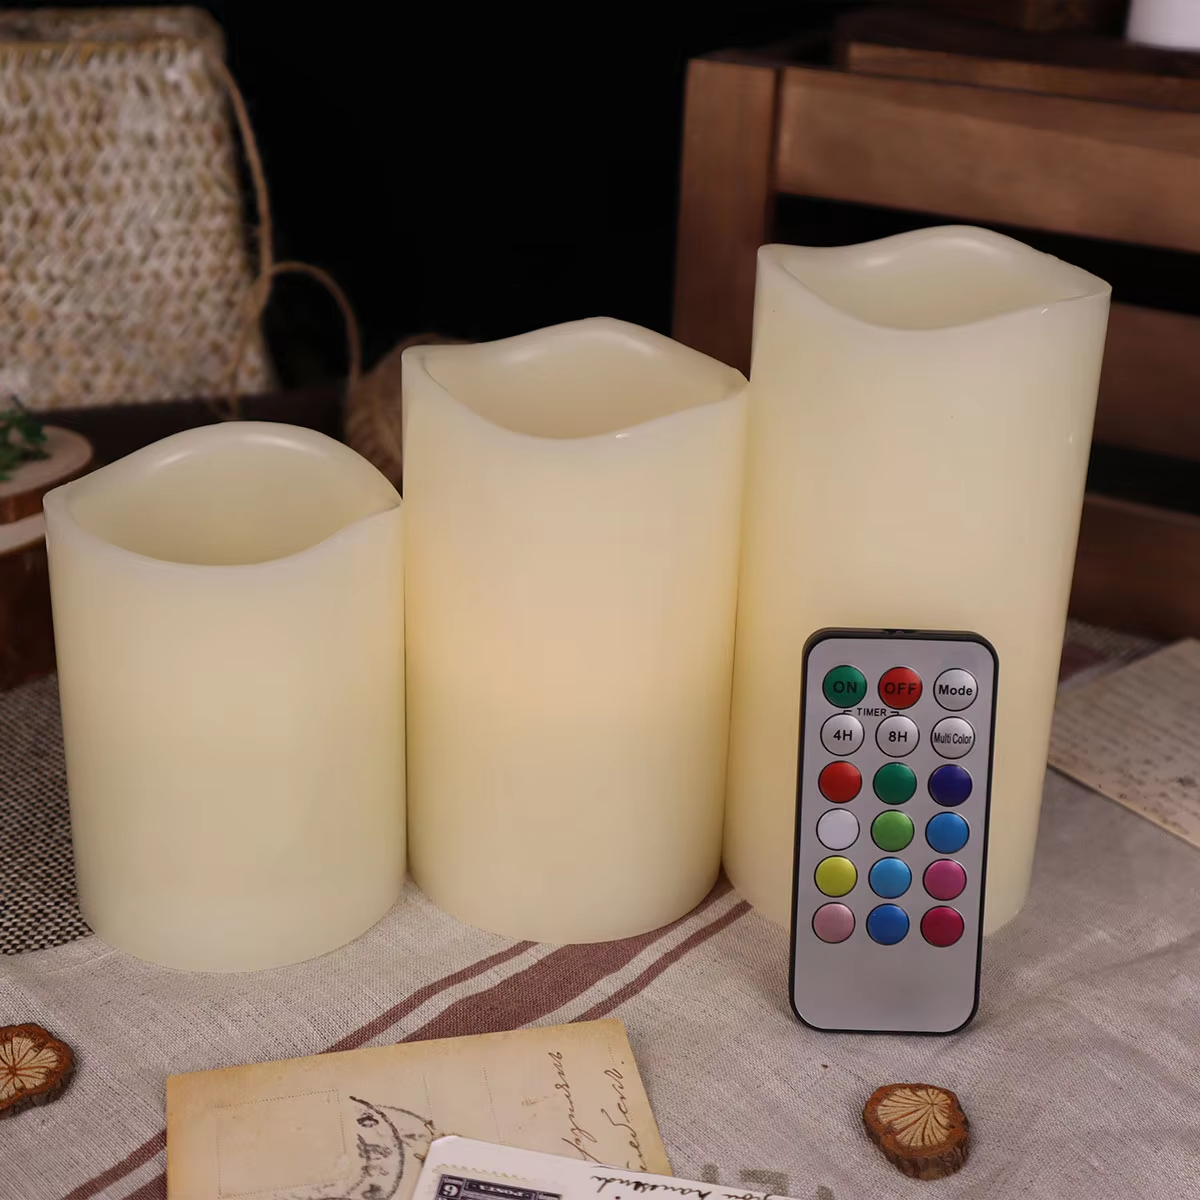
LED-Based Plastic Candle Systems
LED plastic candles represent the most common type of flameless candles available today. These sophisticated devices incorporate light-emitting diodes within durable plastic housings designed to mimic the appearance of traditional wax candles. The plastic materials used range from basic polyethylene to high-grade polycarbonate, each requiring specific cleaning approaches to maintain transparency and prevent scratching or clouding.
The electronic components within LED plastic candles include battery compartments, circuit boards, and sometimes remote control receivers. These internal elements influence cleaning methods since moisture penetration can damage sensitive electronics. Understanding the construction of your specific LED candles helps determine appropriate cleaning techniques and maintenance schedules.
Battery-Operated Flameless Candles
Battery-operated plastic candles often feature removable battery compartments that require regular maintenance beyond surface cleaning. These units may include timer functions, flickering flame effects, and adjustable brightness settings that add complexity to their internal mechanisms. Proper maintenance involves both exterior cleaning and internal component care to ensure reliable operation.
The plastic housing on battery-operated models typically features seams or joints where dust and debris can accumulate. These areas require special attention during cleaning to prevent buildup that could affect the candle's appearance or functionality. Regular maintenance of these junction points extends the overall lifespan of the decorative lighting fixture.
Essential Cleaning Supplies and Tools
Recommended Cleaning Solutions
Selecting appropriate cleaning solutions for plastic candles requires understanding the specific polymer composition of your fixtures. Most plastic candles respond well to mild dish soap mixed with warm water, creating a gentle yet effective cleaning solution that removes surface dirt without damaging the material. Avoid harsh chemicals like bleach, acetone, or ammonia-based cleaners that can cause cracking, discoloration, or surface etching on plastic surfaces.
For stubborn stains or built-up residue, a solution of white vinegar and water provides excellent cleaning power while remaining safe for most plastic materials. Commercial plastic cleaners specifically formulated for decorative items offer another viable option, though always test any new cleaning product on an inconspicuous area before applying it to visible surfaces.
Appropriate Cleaning Tools
Soft-bristled brushes, microfiber cloths, and cotton swabs form the foundation of an effective plastic candle cleaning toolkit. These tools allow for gentle yet thorough cleaning without scratching delicate surfaces or damaging decorative details. Avoid abrasive materials like steel wool, rough sponges, or paper towels that can leave permanent marks on plastic surfaces.
Compressed air canisters prove invaluable for removing dust from intricate details, electronic components, and hard-to-reach crevices. Cotton-tipped applicators excel at cleaning small grooves, switch mechanisms, and battery compartment contacts where precision cleaning is essential for proper function and appearance.
Step-by-Step Cleaning Procedures
Surface Cleaning Techniques
Begin the cleaning process by powering off your plastic candles and removing batteries if applicable. This safety measure prevents accidental activation during cleaning and protects electronic components from potential moisture damage. Allow the units to cool completely if they were recently in use, as warm plastic can be more susceptible to damage from cleaning solutions or pressure.
Dust removal should precede wet cleaning to prevent grinding particles into the plastic surface. Use a soft, dry cloth or compressed air to remove loose debris, paying special attention to textured areas, decorative grooves, and electronic component housings. This preliminary step significantly improves the effectiveness of subsequent cleaning stages while minimizing the risk of surface scratching.
Deep Cleaning Methods
For comprehensive cleaning, prepare a mild soap solution using lukewarm water and a few drops of gentle dish detergent. Dampen a microfiber cloth with the solution, wringing out excess liquid to prevent dripping onto electronic components. Wipe all exterior surfaces systematically, working from top to bottom to prevent recontamination of cleaned areas.
Focus particular attention on areas that commonly accumulate grime, such as the base where the candle contacts surfaces, switch locations, and any textured or grooved sections. Use cotton swabs dipped in cleaning solution to address detailed areas that cloth cleaning cannot reach effectively. Rinse thoroughly with a clean, damp cloth to remove soap residue, then dry immediately with a soft towel to prevent water spots or streaking.
Maintenance Best Practices
Regular Inspection Schedules
Establishing a routine inspection schedule prevents minor issues from developing into major problems that could compromise the functionality or appearance of your plastic candles. Weekly visual inspections should focus on identifying dust accumulation, battery corrosion signs, or any physical damage that might affect performance. These brief checks allow for early intervention before problems become more serious or expensive to address.
Monthly detailed inspections should include battery removal and compartment cleaning, switch operation testing, and thorough examination of all plastic surfaces for signs of wear, cracking, or discoloration. Document any changes or concerns in a maintenance log to track the condition of your plastic candles over time and identify patterns that might indicate underlying issues.
Storage Considerations
Proper storage significantly extends the lifespan of plastic candles while maintaining their appearance and functionality. Store units in cool, dry locations away from direct sunlight, which can cause plastic degradation and color fading over time. Avoid areas with extreme temperature fluctuations that can cause expansion and contraction cycles leading to stress cracks or joint separation.
Remove batteries before long-term storage to prevent corrosion damage that can destroy electronic components and contaminate plastic surfaces. Wrap individual candles in soft cloth or bubble wrap to prevent scratching during storage, and ensure adequate ventilation around stored items to prevent moisture buildup that could encourage mold growth or material degradation.
Troubleshooting Common Issues
Addressing Discoloration Problems
Plastic candles may develop yellowing or other discoloration due to UV exposure, heat damage, or chemical reactions with cleaning products. Mild discoloration often responds to gentle cleaning with baking soda paste, created by mixing baking soda with small amounts of water until a thick consistency forms. Apply this paste to affected areas, let sit for several minutes, then gently scrub with a soft brush before rinsing thoroughly.
For more severe discoloration, hydrogen peroxide solutions can provide effective restoration, though care must be taken to avoid contact with electronic components. Test any discoloration treatment on hidden areas first, as some plastic formulations may react unpredictably to restoration chemicals. Prevention through proper storage and regular cleaning remains more effective than attempting to reverse significant discoloration damage.
Resolving Functional Problems
When plastic candles fail to operate properly, systematic troubleshooting helps identify and resolve issues efficiently. Begin by checking battery condition and proper installation, as weak or corroded batteries account for the majority of functional problems. Clean battery contacts with fine sandpaper or a pencil eraser to remove corrosion or oxidation that prevents proper electrical connection.
Switch mechanisms may become unreliable due to dust accumulation or contact oxidation. Carefully clean switch assemblies using compressed air followed by light application of electronic contact cleaner if necessary. Avoid over-lubricating switches, as excess fluids can attract more dirt and potentially damage internal components over time.
Advanced Care Techniques
Protecting Against Environmental Damage
Environmental factors pose ongoing challenges to maintaining plastic candles in optimal condition. Humidity control becomes crucial in preventing moisture-related issues such as electronic corrosion, mold growth, or adhesive failures in multi-component assemblies. Consider using desiccant packets in storage areas or display locations with high humidity levels to maintain appropriate moisture control.
Temperature management involves protecting plastic candles from both excessive heat and cold extremes. Heat can cause warping, color changes, or premature aging of plastic materials, while cold temperatures may make plastics brittle and prone to cracking. Position candles away from heating vents, fireplaces, and windows that receive intense sunlight during peak daylight hours.
Extending Operational Lifespan
Battery management significantly impacts the longevity of electronic plastic candles. Use high-quality alkaline or lithium batteries appropriate for your specific candle model, and replace entire battery sets simultaneously to prevent problems caused by mixed battery ages or chemistries. Avoid leaving partially depleted batteries in units for extended periods, as they are more likely to leak and cause damage.
Component protection involves gentle handling during cleaning and maintenance procedures to prevent stress damage to switches, LED assemblies, or plastic housings. Develop consistent techniques for battery removal and installation to minimize wear on compartment mechanisms, and avoid forcing components that seem resistant to normal operation.
FAQ
How often should I clean my plastic candles
The frequency of cleaning depends on environmental factors and usage patterns, but generally, light dusting should occur weekly while thorough cleaning should happen monthly. Candles in high-dust environments like workshops or near cooking areas may require more frequent attention, while those in clean, enclosed spaces might need less frequent maintenance. Regular inspection helps determine appropriate cleaning intervals based on actual accumulation rates.
Can I use household cleaners on my plastic candles
Most household cleaners are too harsh for plastic candles and can cause damage ranging from discoloration to surface etching. Stick to mild dish soap solutions, white vinegar mixtures, or cleaners specifically formulated for plastic materials. Always test new cleaning products on inconspicuous areas before applying them to visible surfaces, and avoid any products containing bleach, ammonia, or strong solvents.
What should I do if my plastic candle stops working
Start troubleshooting by checking battery condition and proper installation, then inspect for visible damage or corrosion in battery compartments. Clean battery contacts if necessary and test with fresh batteries before concluding that internal components have failed. If basic troubleshooting does not resolve the issue, consult manufacturer documentation or consider professional repair for valuable or complex units.
How can I prevent my plastic candles from yellowing
Prevent yellowing by minimizing UV exposure through strategic placement away from windows and direct sunlight. Store unused candles in dark, cool locations and avoid exposure to heat sources that can accelerate plastic degradation. Regular cleaning removes contaminants that can contribute to discoloration, while proper storage prevents many environmental factors that cause yellowing over time.